How to Use an Arm-and-Clamp System for Underwater Photography
If you find an arm-and-clamp system for your camera lighting intimidating, you’re not alone. Here’s how to quickly position and keep your lighting safe.
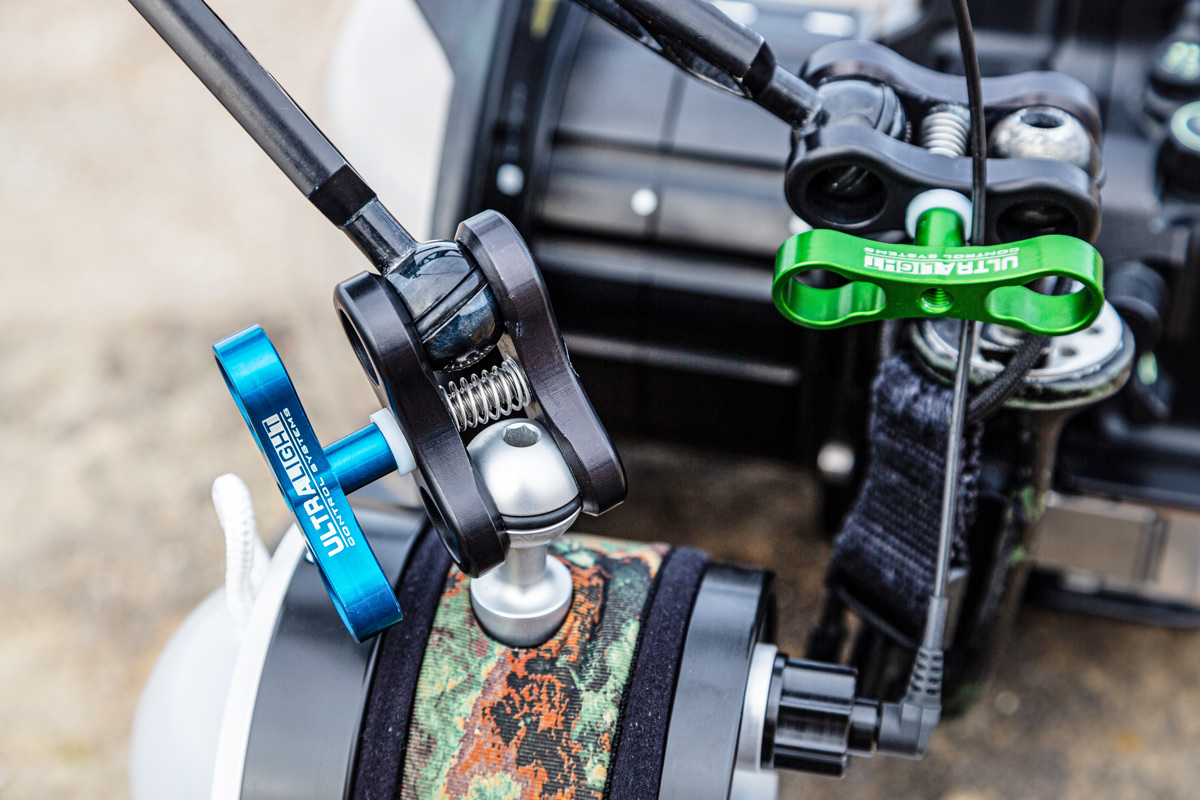
Before And After The Dive
Strobes and video lights can break if hit with force. They’re particularly vulnerable when entering and exiting. To minimize impact risk, position your lights close to the housing and tighten the clamp knobs—just enough to hold the lights in place on the surface— so they won’t flop around. Attaching a lanyard handle to your housing will make it easy for the boat crew to handle your system, further minimizing impact risk.
During The Dive
Once in the water with your camera in hand, the priority is to check in with the dive guide, safely descend, achieve neutral buoyancy and get prepared for your dive. Only then do you turn on the camera, loosen the clamps and configure the system into a “swim position.”
Your strobes and lights are much lighter underwater, meaning your clamps can be much looser while still holding the lights in place. The optimal tightness will hold them in position during the dive while being loose enough for you to easily reposition the light. Assuming you have three clamps, this generally means the first clamp is tightest, the middle clamp is slightly looser and the outside clamp is loosest. Grab the back of the light and move it into position. If your clamp tension is correct, you can easily position the light without adjusting the clamps for the rest of the dive.
At the end of the dive, remember to secure the lights tightly again before passing your camera up to the boat crew.
When you subscribe to the blog, we will send you an e-mail when there are new updates on the site so you wouldn't miss them.