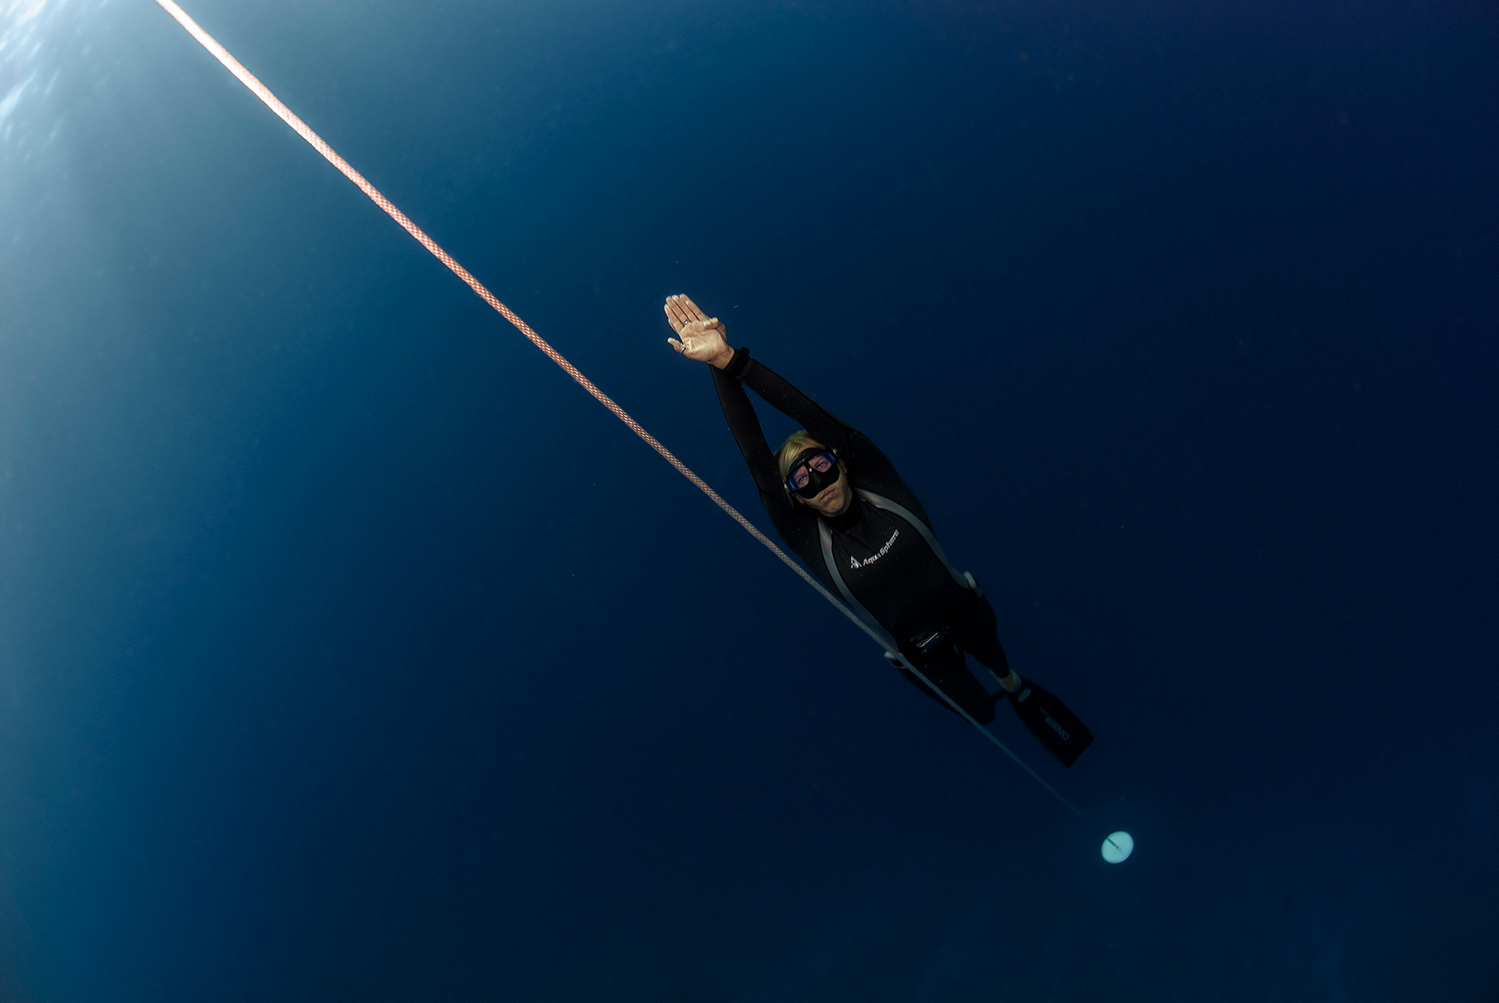
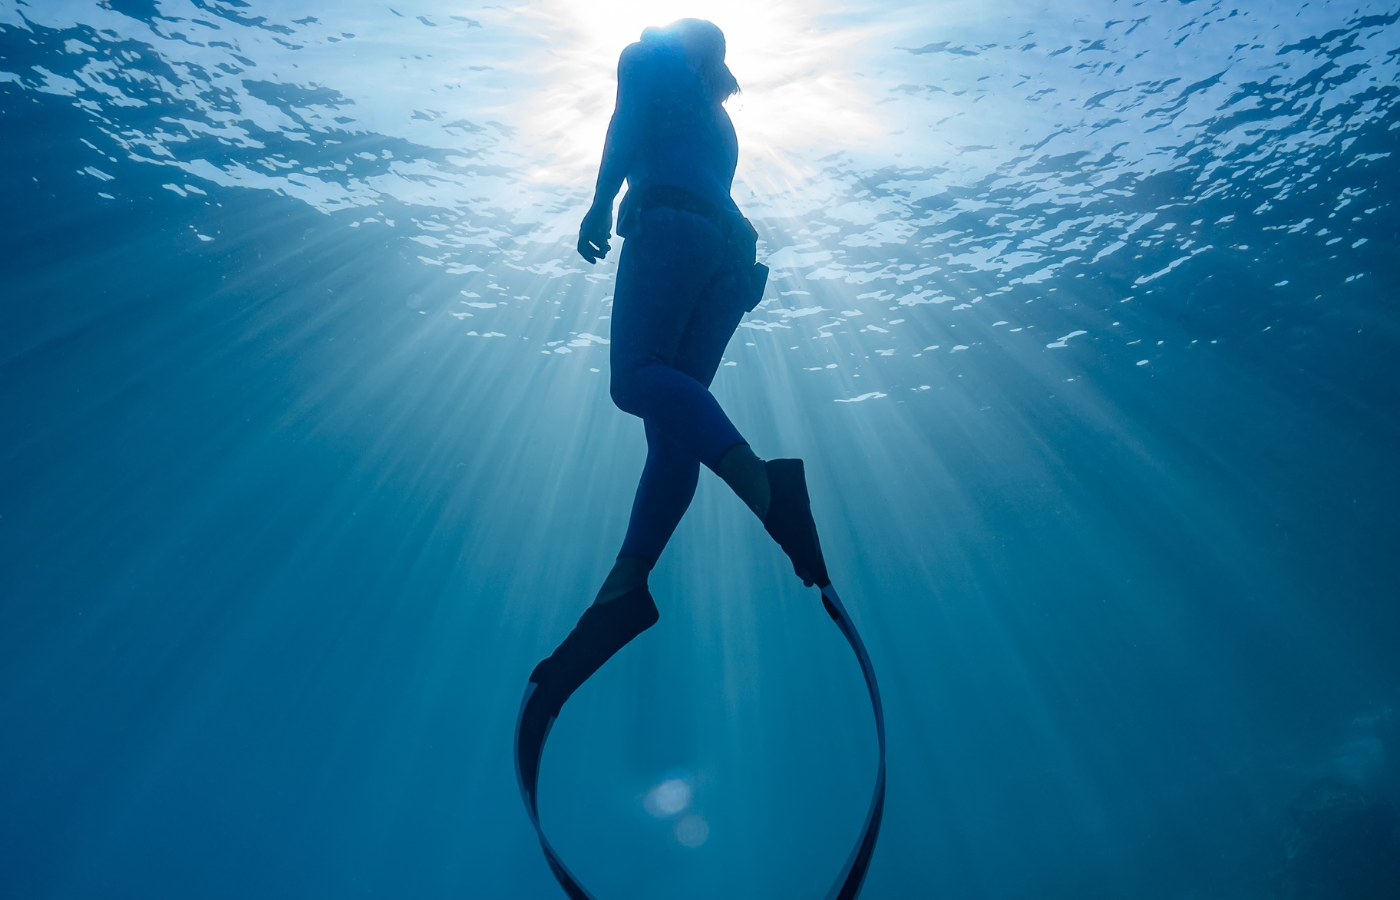
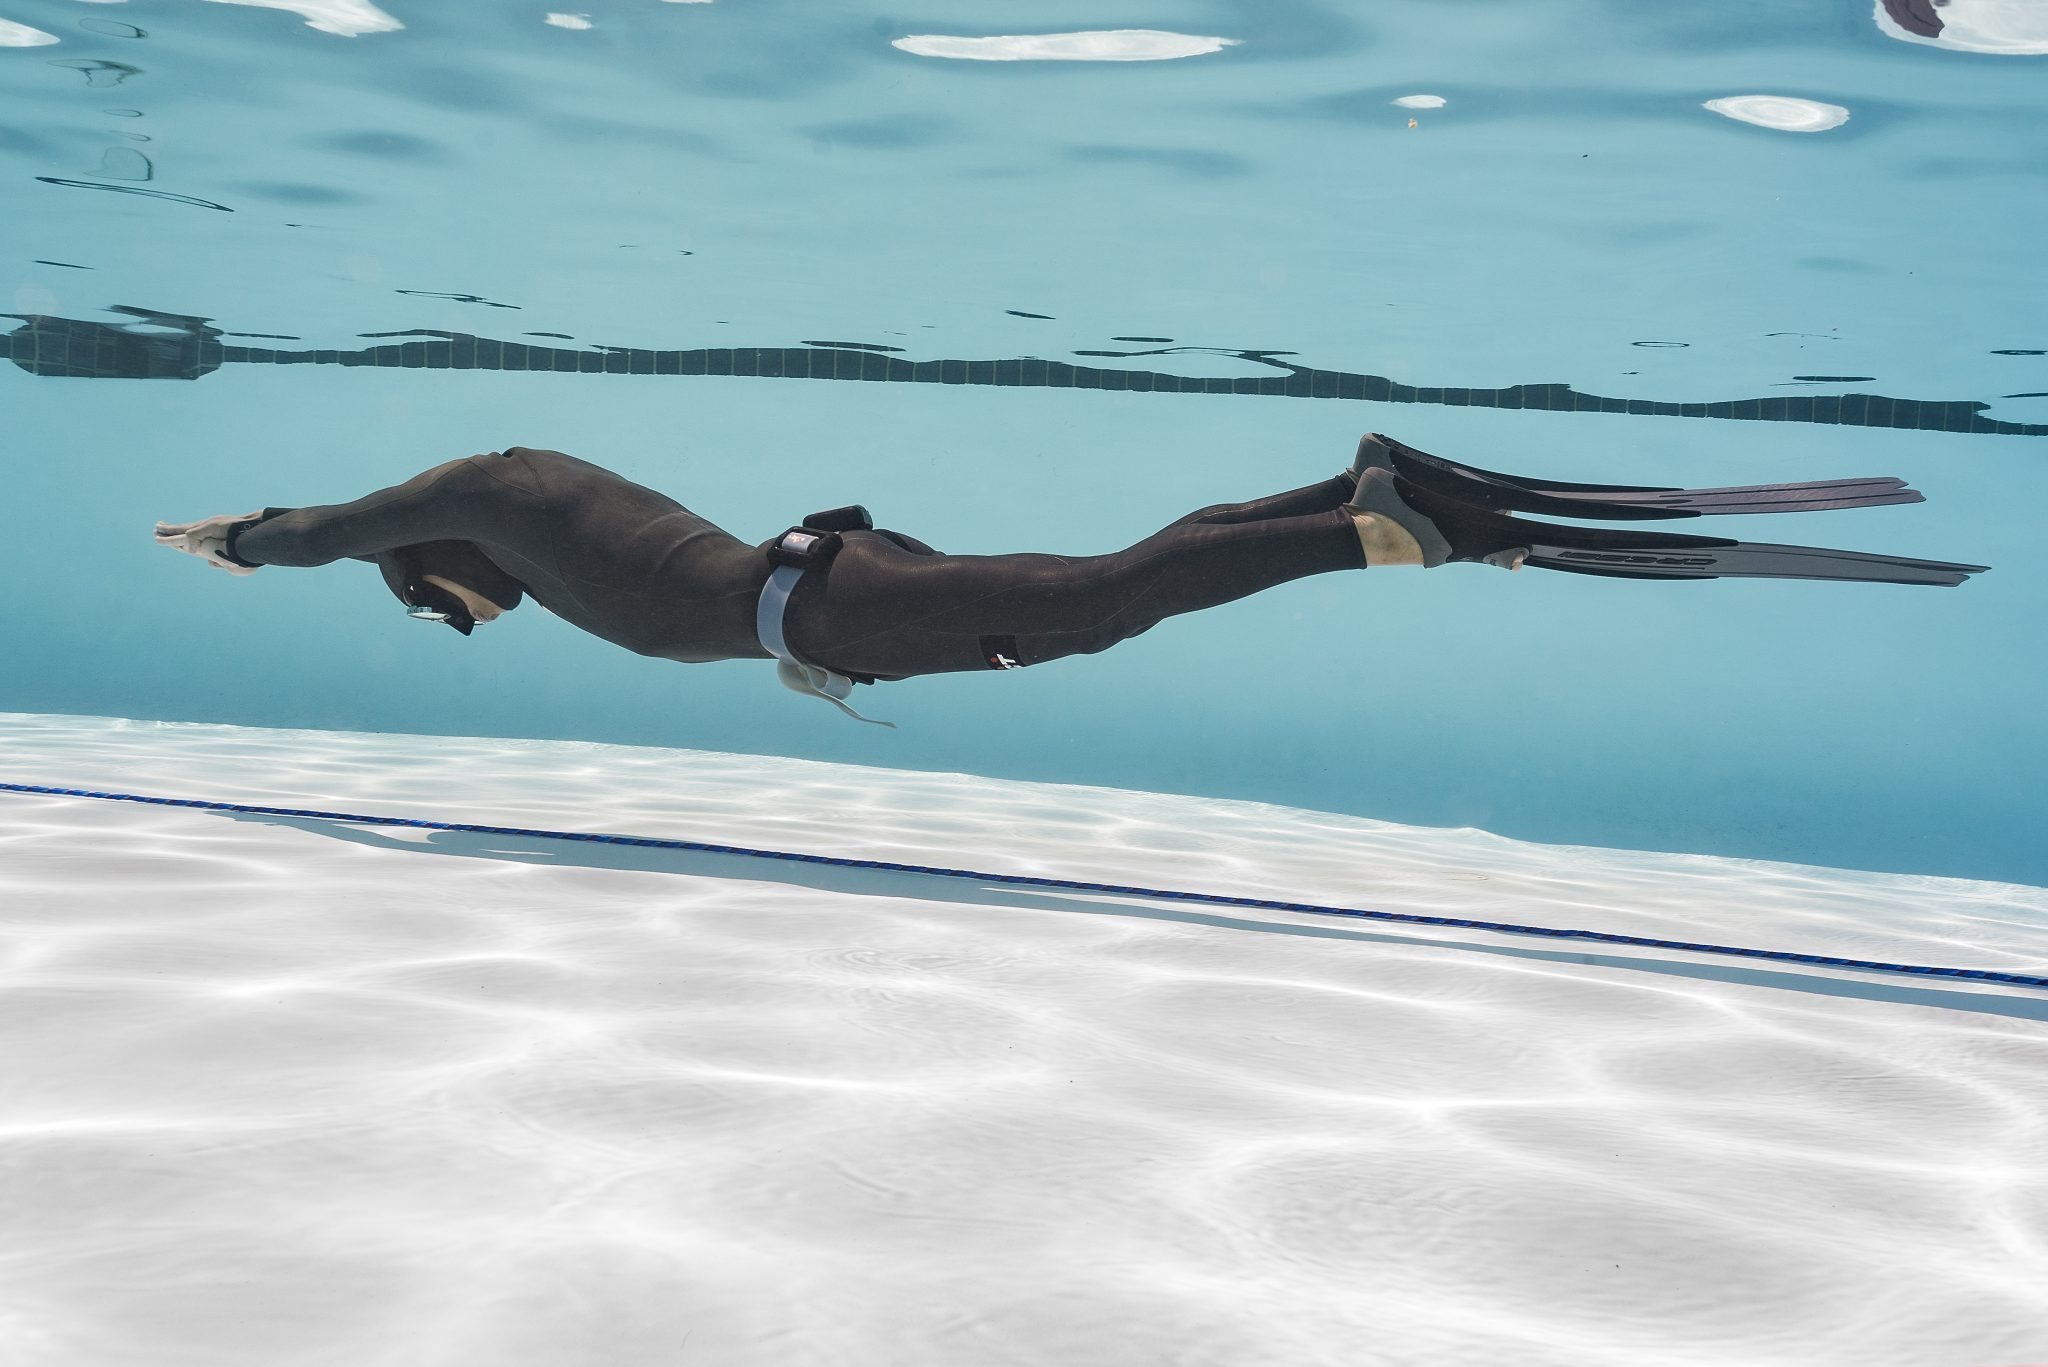
To be properly weighted while diving, freedivers first need to understand the forces a diver must overcome and how to use them to their advantage. Being over-weighted increases the amount of effort used to stay at the surface in-between dives and when returning to the surface. Being under-weighted can also negatively impact your performance while diving. Let’s take a look at some proper weighting techniques for freediving.

Buoyancy is the upward force that is applied by a fluid on an object that is placed in it. If the object has a greater weight than the fluid it displaces, the object will sink. Inversely if the object is lighter than the displaced fluid, it will float. For freediving, the goal is to be neutrally buoyant at a certain depth (more on this later). To achieve this, we need to add weight to our gear to compensate for body type, wetsuit thickness and water type among other factors.
An important consideration is that the deeper we dive, the more compressed the airspaces within our bodies and wetsuits become, making us sink faster. When we displace less water than our weight is the point at which we no longer need to kick downwards to overcome our buoyancy. This is when freedivers enter free-fall.
Returning to the surface, the opposite is true. We must exert enough force either through kicking or pulling to overcome negative buoyancy. As we approach the surface, our suits and airspaces within our bodies become less compressed, and we eventually reach positive buoyancy. Once positively buoyant, freedivers again can stop exerting efforts and allow buoyancy to push us back to the surface.
Buoyancy Is Not Just for Freediving – Here Are 10 Tips for Scuba

Before you dive, or anytime you change your kit or environment, it is a good idea to do a buoyancy check at the surface. It is recommended to be slightly positively buoyant at the surface for safety reasons and to stay relaxed as you prepare for your dive. To check your buoyancy, float vertically in the water and try not to move your legs or arms. After a passive exhale, you should still remain comfortably floating at the surface.
However, because you’ll soon be diving below the surface, you’ll also want to ensure you aren’t too buoyant to dive. To refine the amount of weight you can wear at the surface and remain positively buoyant, here is one technique. Begin by inhaling as much as possible. With your breath held, you should float with the water level around neck. Without kicking or moving take another breath, this time a relaxed or normal full breath. When held, the water should be at your chin. As you exhale, you should still stay at the surface but not sink. Adjust your weight in 1-2 pound/kilogram increments as needed.

Before we dive into weighting techniques for freedivers at depth, we first need to discuss the varying philosophies of the neutral buoyancy depth. Freedivers chose a neutral buoyancy depth where they should neither float towards the surface nor sink towards the bottom. But at which depth should this be? One philosophy states that neutral depth should be approximately one third of your planned maximum depth or at 5 meters (15 feet), whichever is deeper. Another philosophy indicates that neutral buoyancy should be at half the maximum depth, and still another sets neutral buoyancy at 10 meters (30 feet).
For the sake of this example, let’s say you want to set your neutral buoyancy at 10 meters (30 feet). Take a full breath and pull or kick your way down to 10m (30ft.) Stop at 10m and relax. Watch the line or your computer to determine if you are floating back to the surface or sinking. The goal here is to neither float nor sink, indicating neutral buoyancy. If you are not neutrally buoyant, return to the surface, adjust your weight by 1-2 pounds/kilograms and try again.
Note: Most shallow water blackouts happen within 10 to five meters/30 to 15 feet of the surface, so it’s always recommended to be positively buoyant at this point of your ascent.

Your weight setup is also very important. A good weight belt will fit snugly and sit low on your hips, allowing you to take full unrestricted breaths. It will also feature a quick release mechanism, so that you or your dive partner can ditch the weights in an emergency.
It is recommended to use smaller 1 to 2-pound/kilogram weights on your belt. This will allow you to not only fine-tune your weight but also evenly space them out, making the belt more comfortable.
A good starting point for an average-sized person wearing a wetsuit is:
3mm Wetsuit: 1-2 kg (2-4lbs) 5mm Wetsuit: 3-4 kg (6-8lbs) 7mm Wetsuit: 5-6 kg (10-12lbs)Being properly weighted will ensure that you are safe during your dives and also enjoy freediving. This will also help you reach the depths you want without exerting any more energy than required.
Learn More & Get Freediver Certified
Share This