Cardiopulmonary resuscitation, more commonly known as CPR, is a technique designed for use on patients experiencing cardiac arrest. Implemented correctly, this easy-to-learn procedure can play a key role in saving a person’s (or even a pet’s) life.
In the majority of cases, CPR involves a combination of chest compressions with rescue breaths. This pairing attempts to introduce fresh oxygen into the airways and maintain the circulation of oxygenated blood through the body (what is lost during cardiac arrest). Importantly, while the principle reasons for performing CPR remain true across all types of CPR, the exact technique for achieving the desired outcome can change depending on the patient.
In this article, we will look at the differences between the various types of CPR as well as on whom (or what) each one can be used.
For any emergency situation that may potentially require CPR to be performed, the first steps are the same:
Scene Assessment – Ensure the area is safe for you and the patient. Call for Help – Ensure additional help or professional medical aid is on the way. Identify an absence of normal breathing – An indicator of the need for CPR.
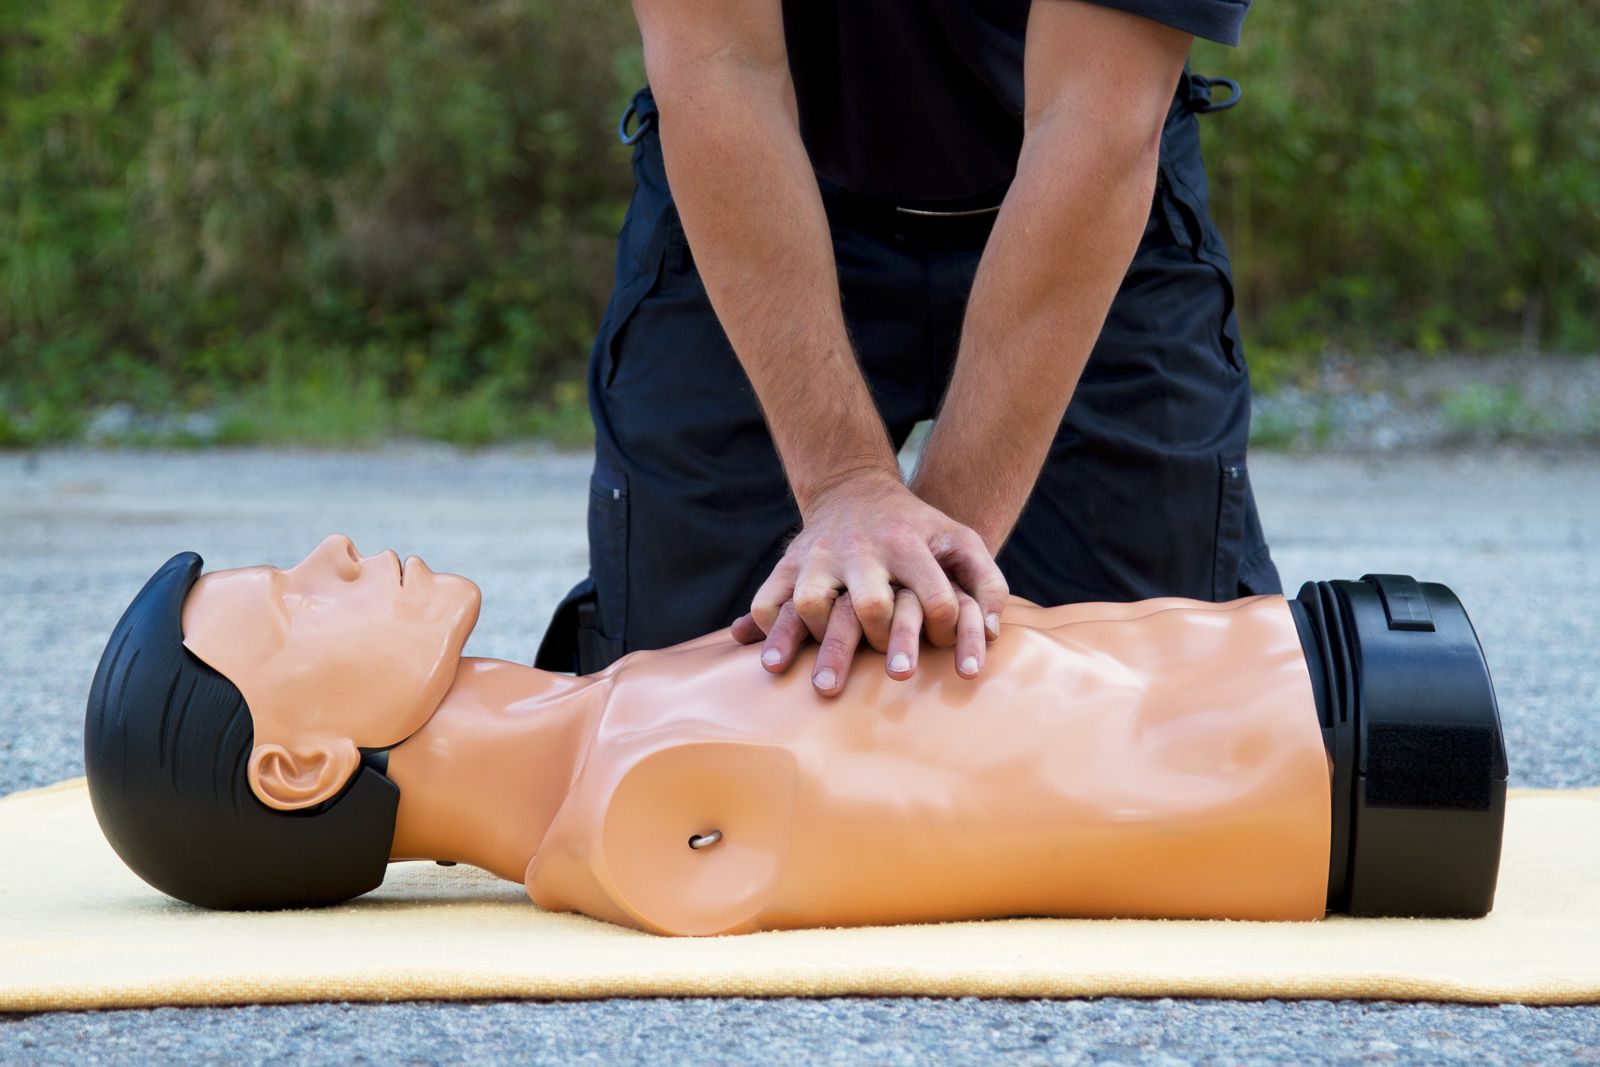
CPR for adults is the ‘typical’ type of CPR – the technique most people imagine when thinking about CPR. The technique combines two elements: mouth-to-mouth rescue breaths and chest compressions.
This type of CPR involves cycling between:
Chest Compressions (30) — Using locked elbows, straight arms and interlocked hands (one over the other), lean over the patient and press down to a maximum of 2.4 inches (6 centimeters) on the patient’s sternum. Perform 30 compressions at a rate of 100-120 per minute. Rescue Breaths (2) — After each set of 30 chest compressions, administer two rescue breaths. To ensure effective airflow, fully open the airway by tilting the patient’s head back and pinching the nose during each breath.In some situations, such as if you fear illness transmission and there’s no available barrier, it may not be possible to perform the rescue breath component of CPR.
In these cases, continuously perform the chest compressions without breaking for the rescue breaths.
Chest Compressions — Using locked elbows, straight arms and interlocked hands (one over the other), lean over the patient and press down to a maximum of 2.4 inches (6 centimeters) on the patient’s sternum. Perform at a rate of 100-120 per minute.NOTE: A hands-only version of CPR can be applied to all the types of CPR present on this list by removing the rescue breaths.

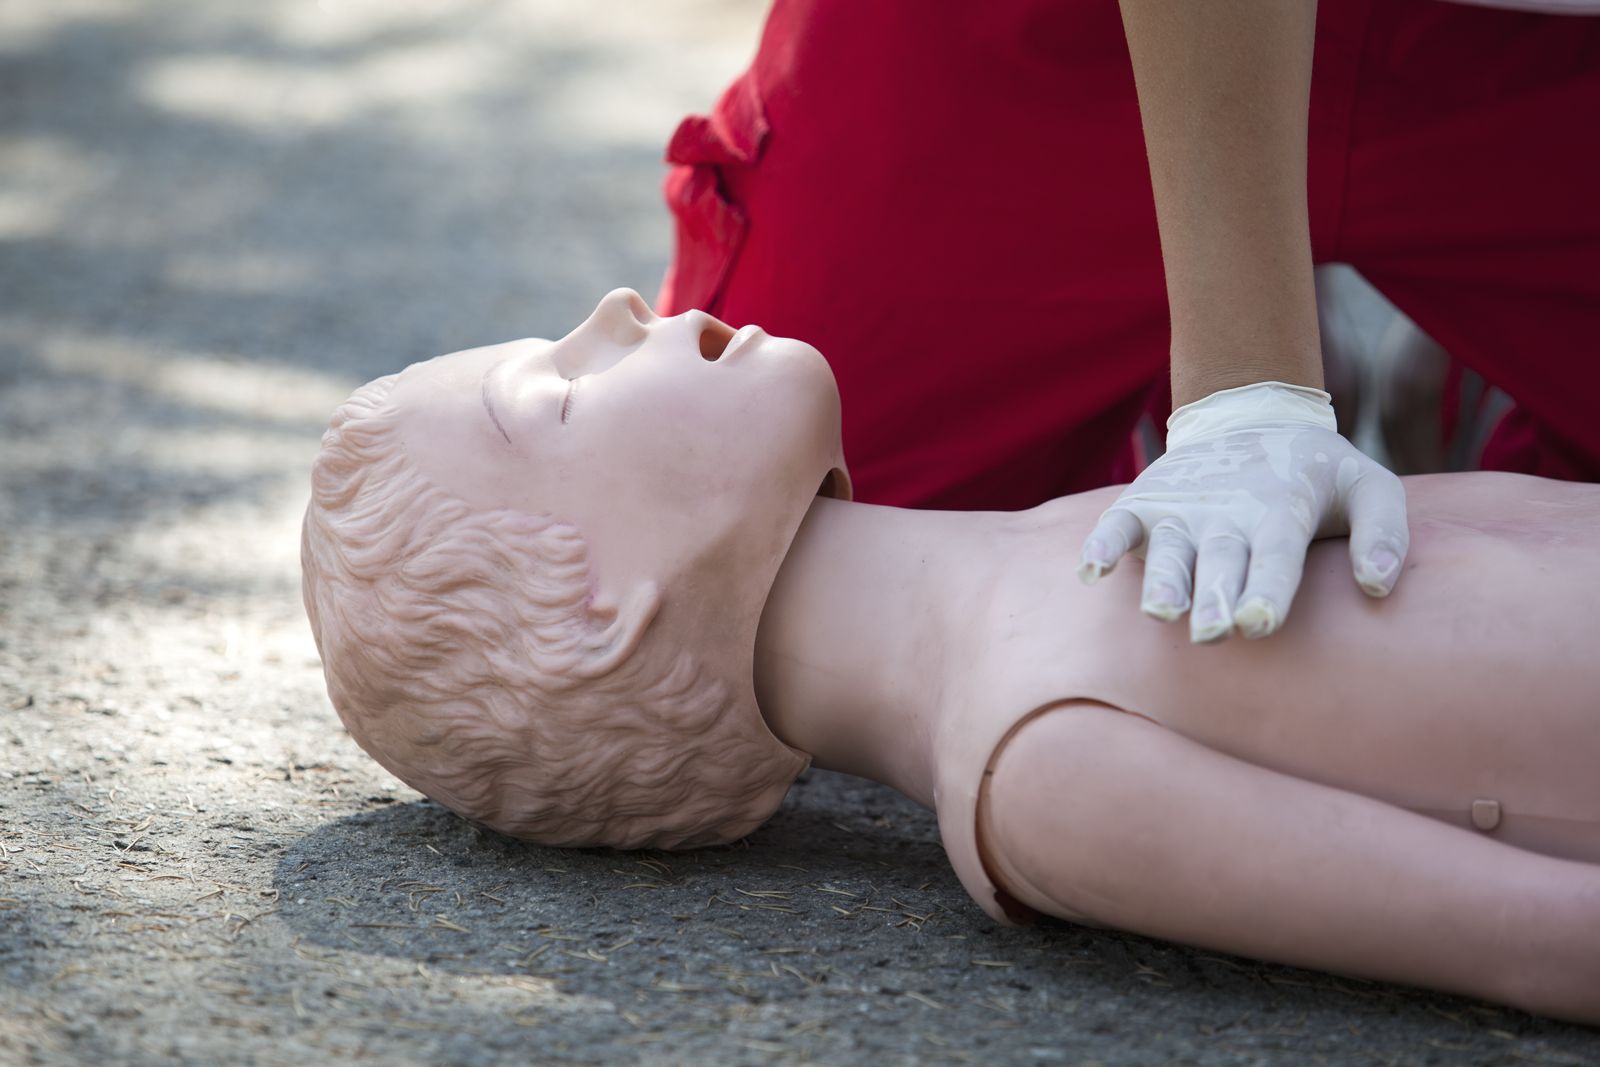
Adapting CPR for use on children requires only a couple of small adjustments, particularly concerning the depth of the chest compressions. CPR for children involves cycling between:
Chest Compressions (30) — Using one hand only with a locked elbow and a straight arm, lean over the patient and press down to a maximum of 2 inches (5 centimeters) on the patient’s sternum. With small children you may use one hand to deliver chest compressions. If you can’t push the breastbone down approximately one-third the depth of the child’s chest or at least 2 inches (5 centimeters), use two hands like in adult CPR. Perform 30 compressions at a rate of 100-120 per minute. Rescue Breaths (2) — After each set of 30 chest compressions, administer two rescue breaths. To ensure effective airflow, fully open the airway by tilting the patient’s head back and pinching the nose during each breath.This technique is for children above the age of one to adolescence.

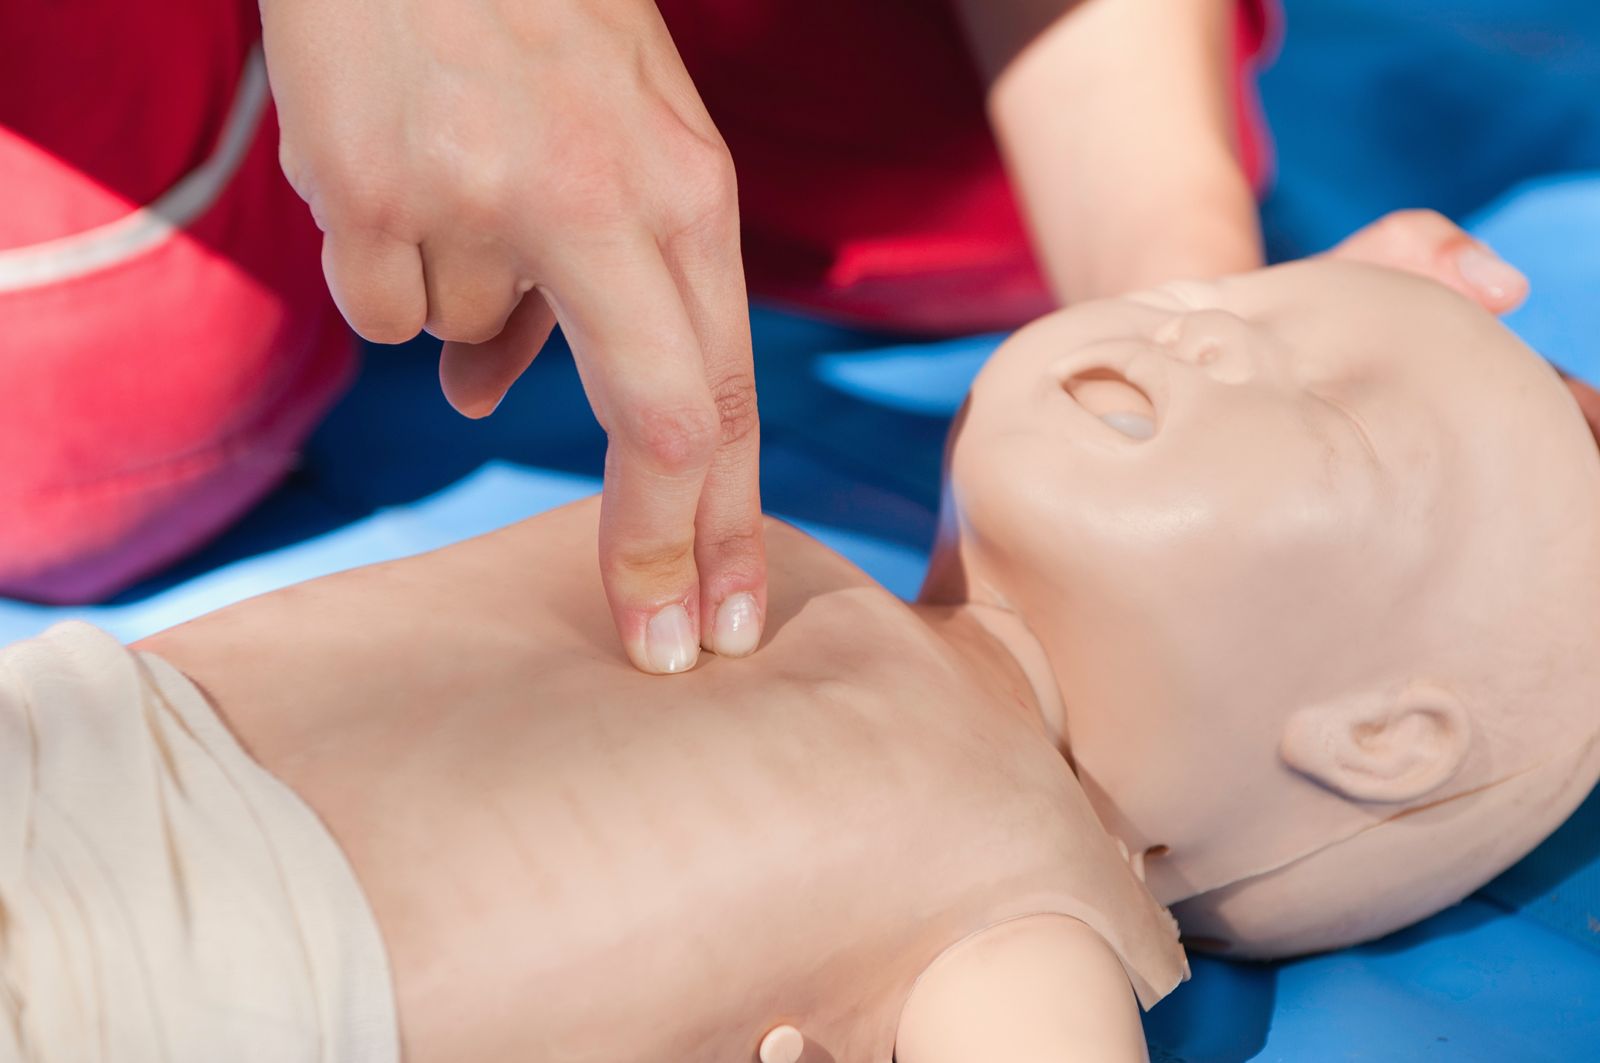
The difference between CPR for infants and CPR for adults and children is more significant. Performing CPR on babies requires a proportionate greater level of care due to the fragility of the patient.
In infants (under the age of one), place two fingers (the middle and the index fingers) on the lower breastbone instead of interlocked hands. Cycle between:
Chest Compressions (30) — Using two fingers, press down to a maximum of 1.5 inches (4 centimeters) on the patient’s sternum. Perform 30 compressions at a rate of 100-120 per minute. Rescue Breaths (2) — After each set of 30 chest compressions, administer two rescue breaths. To ensure effective airflow, fully open the airway by tilting the patient’s head back and pinching the nose during each breath.This technique is for infants under the age of one.

It is also possible for pets to experience cardiac arrest. And just like any other important member of the family, you’ll want to be prepared if this unexpected event does occur.
In each case, no matter the size of your pet, follow the 30 chest compressions to 2 rescue breaths cycle.
Chest Compressions (30) – As with human CPR, begin by providing 30 chest compressions at a rate of 100-120 per minute. The biggest difference with pet CPR is the placement of the hand providing the compression. Here is a rough guide: Cats/Small Dogs – One hand over the animal’s heart and the second directly on top. The heart is located where the elbow of the forelegs meets the chest. Medium/Deep-Chested Dogs – One hand over the widest part of the chest with the second on top. Large Dogs – Place the dog on its back. Place one hand over the widest part of the chest with the second on top. Ensure your arms remain locked during compressions. Rescue Breaths (2) — After each set of 30 chest compressions, administer two rescue breaths. Closing your pet’s mouth, form an airtight seal over its nose with your mouth. Breath out until the chest noticeably rises.
Be aware that the principle reason for performing CPR is not restarting a patient’s heart. While it is possible, a heart spontaneously restarting is rare and unlikely. This means, without additional intervention, such as an AED or professional medical care, CPR should continue until:
Signs of life appear in the patient An AED arrives and is ready to use Someone else (a medically trained professional or CPR-trained bystander) can take over You become too tired to continue (exhaustion puts you at risk) The scene is no longer safe to perform CPRIt’s important to be aware of the various types of CPR so that, should the need arise, you are able to deliver the technique best suited to the patient. Age, size, scenario and species are all important considerations when deciding how to respond most effectively during a cardiac emergency. Ultimately, the more knowledge a first-aid provider has at their disposal, the greater the chances of survival for the patient.
Are you ready to form a key part of the chain of survival if the situation arises? By completing a CPR course, you’ll acquire the skills, knowledge and confidence needed to act in an emergency. And whether you just want to learn the life-saving basics, or you want to explore a more comprehensive curriculum, there’s an Emergency First Response (EFR) course to fit your needs.
Share This