Underwater photography is amazing. If you’re like me, you see great underwater photos on social media and start getting pumped for your next dive. You start pre-visualizing the shots, ready to hop in the water and shoot away. Dive day comes and you’re sure you’ve got some “National Geographic” shots, then load the images on the computer and send them into a deep folder never to see the light of day. Sound familiar?
We’ve all been there, but let’s speed up the learning process. The 5 underwater photography tips below are techniques I’ve learned from talented photographers and through years of experience:
1. Master Your Buoyancy
That’s right. If you’re flailing around there’s no way you can relax and compose a great shot. Divers need to have full control in order to hold the camera steady at the angle needed to create a nice composition. Good buoyancy is also critical in protecting the reef, especially with the distraction of a camera. Enroll in the PADI Peak Performance Buoyancy course to perfect your buoyancy before picking up an underwater camera.
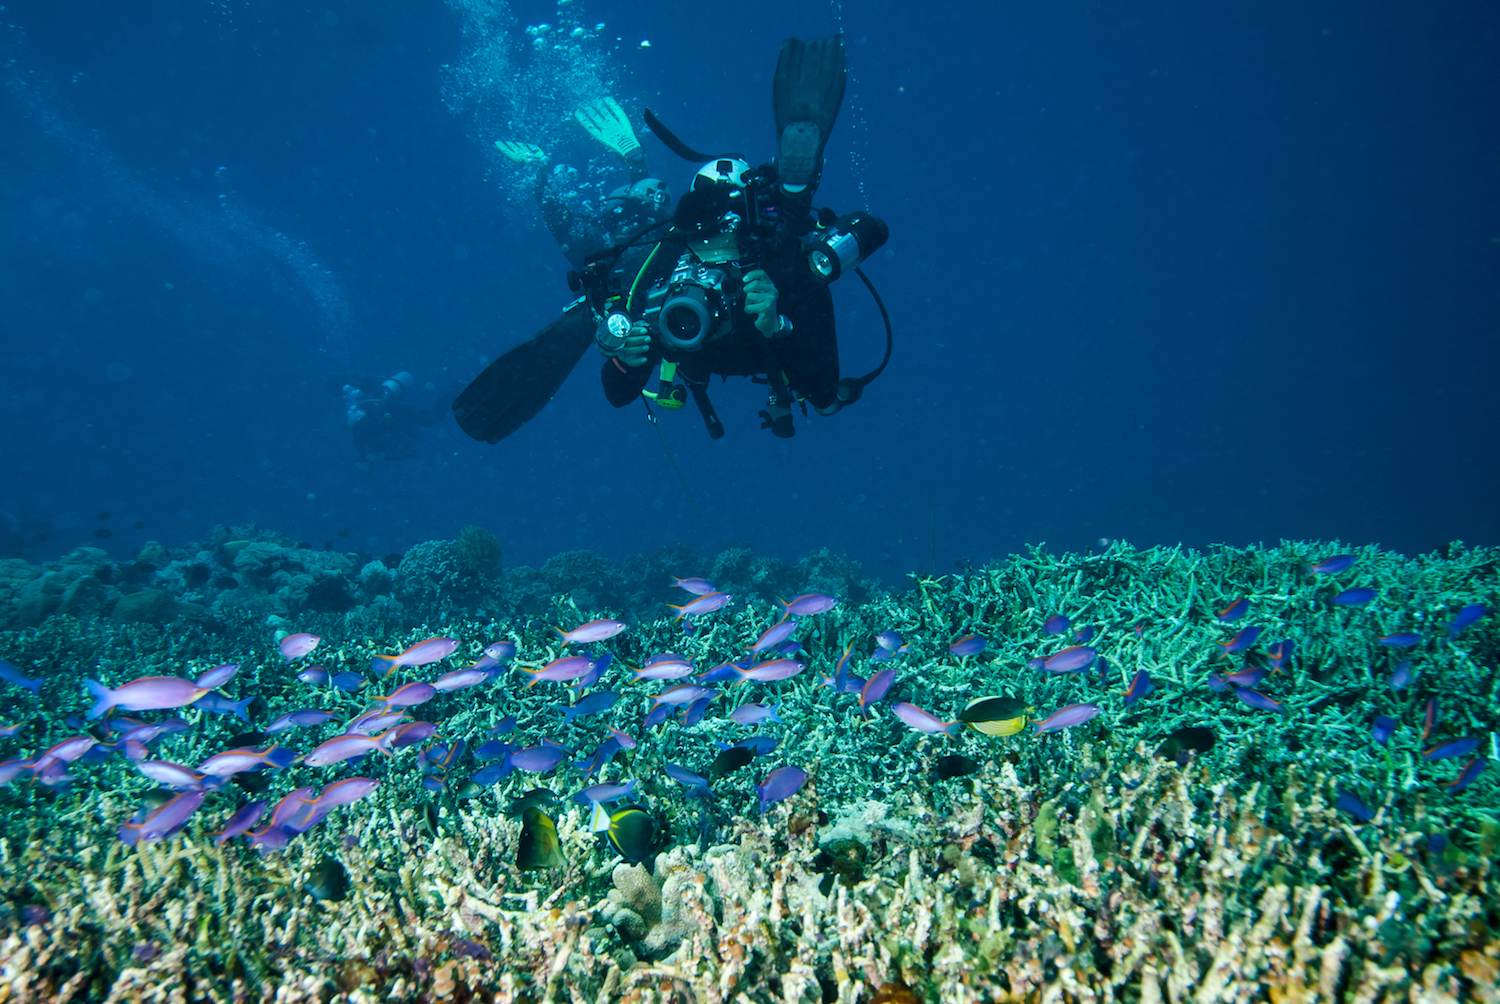
2. Shoot Up
Ever look down into deep water and see the light falloff? Your camera sees the same thing. When shooting up towards the surface, the water behind your subject will take a nice blue color and bring much-needed light into the image. Shooting up also eliminates distracting backgrounds, making the subject POP in the picture.
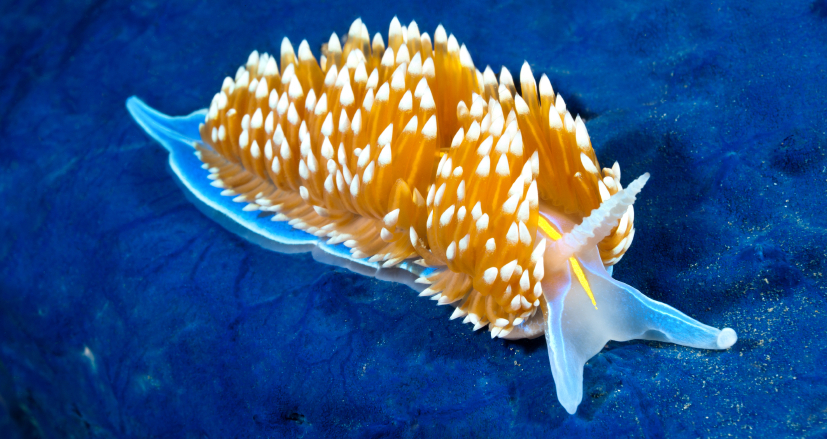
3. Get Close
Great underwater photos have a distinct subject that often fills the frame. Getting close to the subject brings out intricate details and creates interest through eye contact, patterns, textures, colors, shadows and much more. Water also contains particulates that cause backscatter when lit with a flash or strobe, so the less water between the lens and subject the better. Just remember not to touch the reef!
4. It’s All About Light
Light is lost quickly as we get deeper in the water, starting with the red spectrum. This is why it’s a great idea to carry a dive light – even on daytime dives. It brings color back into the reef. We need to do the same thing with cameras, either through the pop-up flash or (ideally) with an external strobe or two. The only time a photo will look great without artificial light is within 8 or so feet from the surface, where ambient light from the sun is still strong and no colors have been lost to the water.
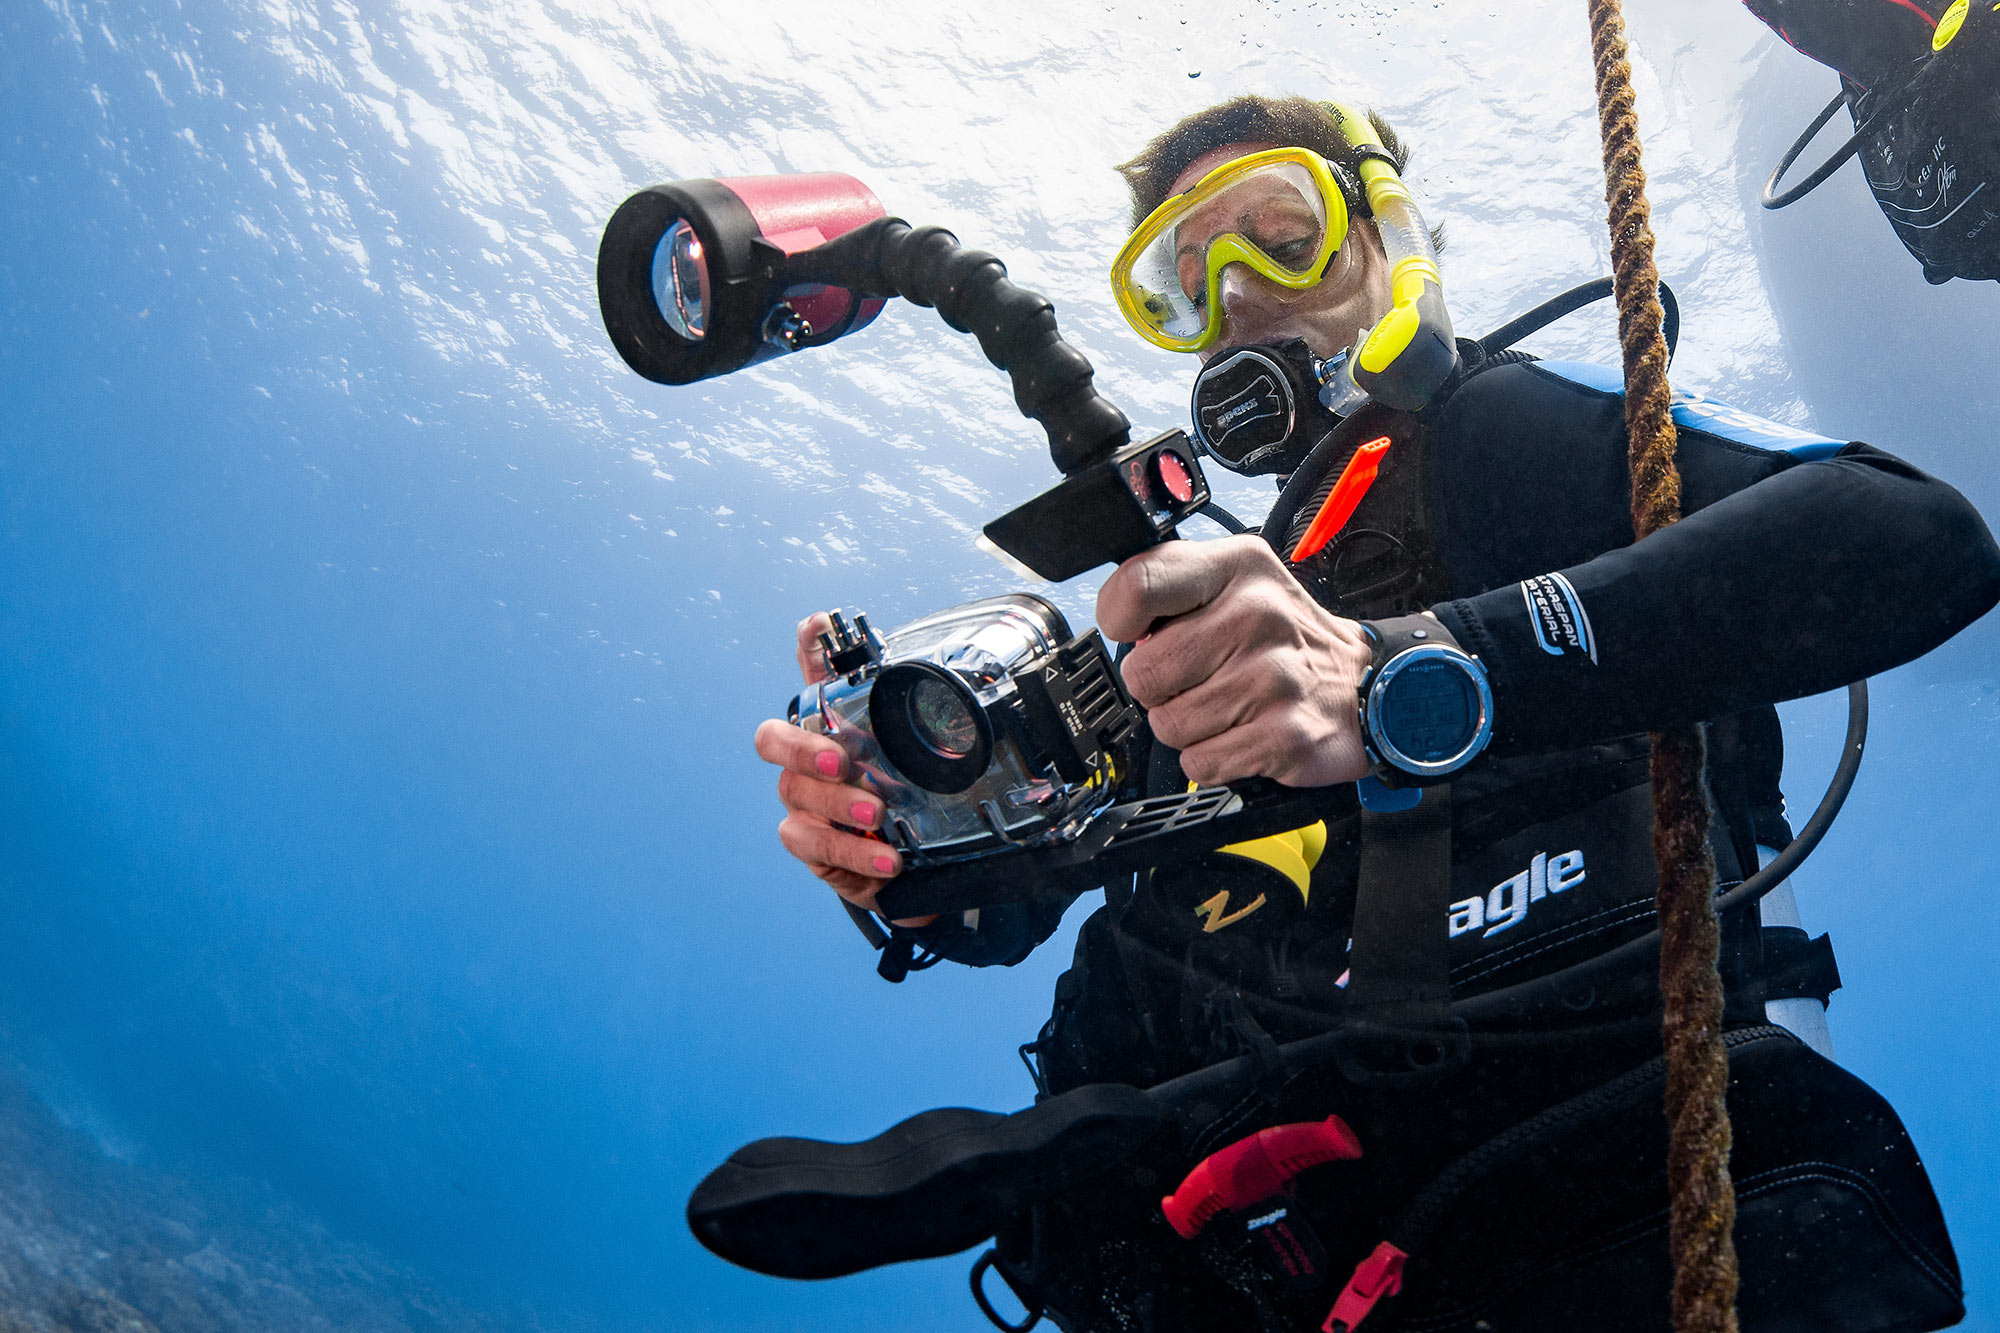
5. Review Your Images In-Water
Use your camera’s image review function to immediately see what could be improved in the image – don’t wait until you’re back on the boat or at the resort when it’s too late. If the shot isn’t what you had imagined, try again! This often involves changing settings and several additional shots until you’re happy with the result.
Now that we’re equipped with these underwater photography tips, it’s time to go dive and shoot. For further information, consider enrolling in the PADI Underwater Photographer specialty course, which is the ultimate course for tips, tutorials and everything you need to know about improving your underwater photography.
This blog was originally written by Brent Durand and published on the Diviac Magazine.
Brent Durand is an avid California beach diver, photographer and writer with a rapidly growing portfolio of unique underwater, ocean lifestyle and adventure images.
Brent is editor-in-chief of the Underwater Photography Guide and you can see more of his work at www.brentdimagery.com.
Share This