Ever wonder how photographers, videographers, and influencers capture amazing underwater content? Each time you enter the water, the conditions vary, so there’s no perfect setting for every situation. However, here are some basic tricks that can help you get the perfect underwater videos. A significant aspect of capturing stunning video involves spending time in the water, patiently waiting for ideal lighting, calm conditions, or cooperative wildlife. Regardless of the camera you’re using, here are some tried and true tips for shooting beautiful freediving videos.
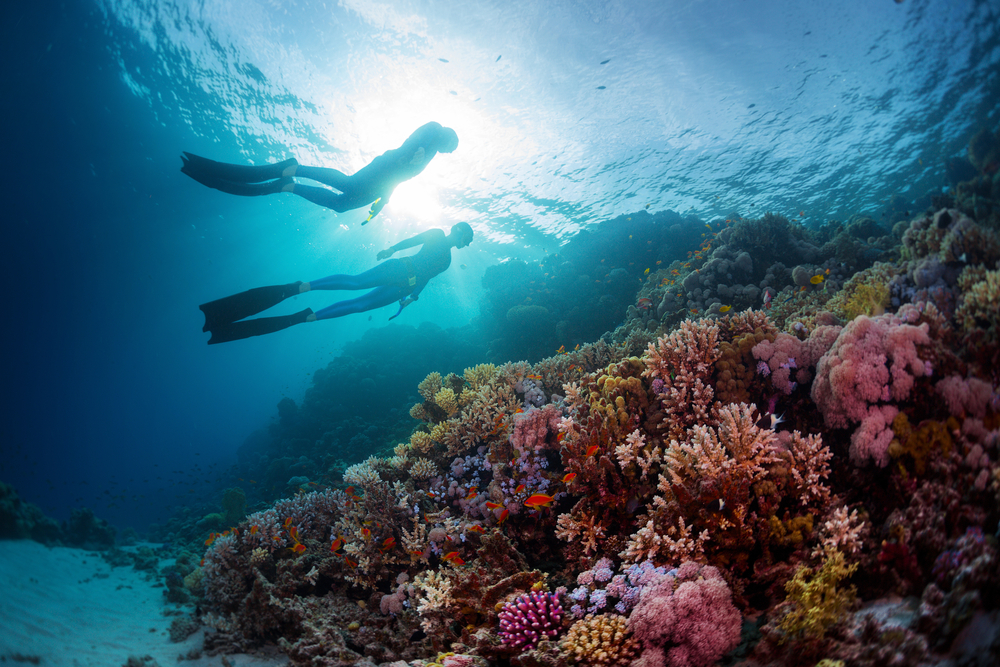
Before diving into the tips and tricks of actually shooting underwater videos, there are some aspects that you, as a freediver, can focus on improving.
First and foremost is practicing moving slowly. This is particularly crucial if you’re using an action camera mounted on a pole, as any movement is amplified. Fast and jerky footage is not enjoyable to watch, and even when attempting to slow it down, the footage can remain shaky.
Additionally, it’s important to show respect towards any marine life you aim to capture. Avoid chasing after animals and refrain from touching them. Allow the animals to dictate the encounter. Typically, with enough patience, the animals will recognize that you pose no threat and may even become curious. This is when you’ll have the opportunity to capture truly incredible footage.
Get Started With Underwater Photography
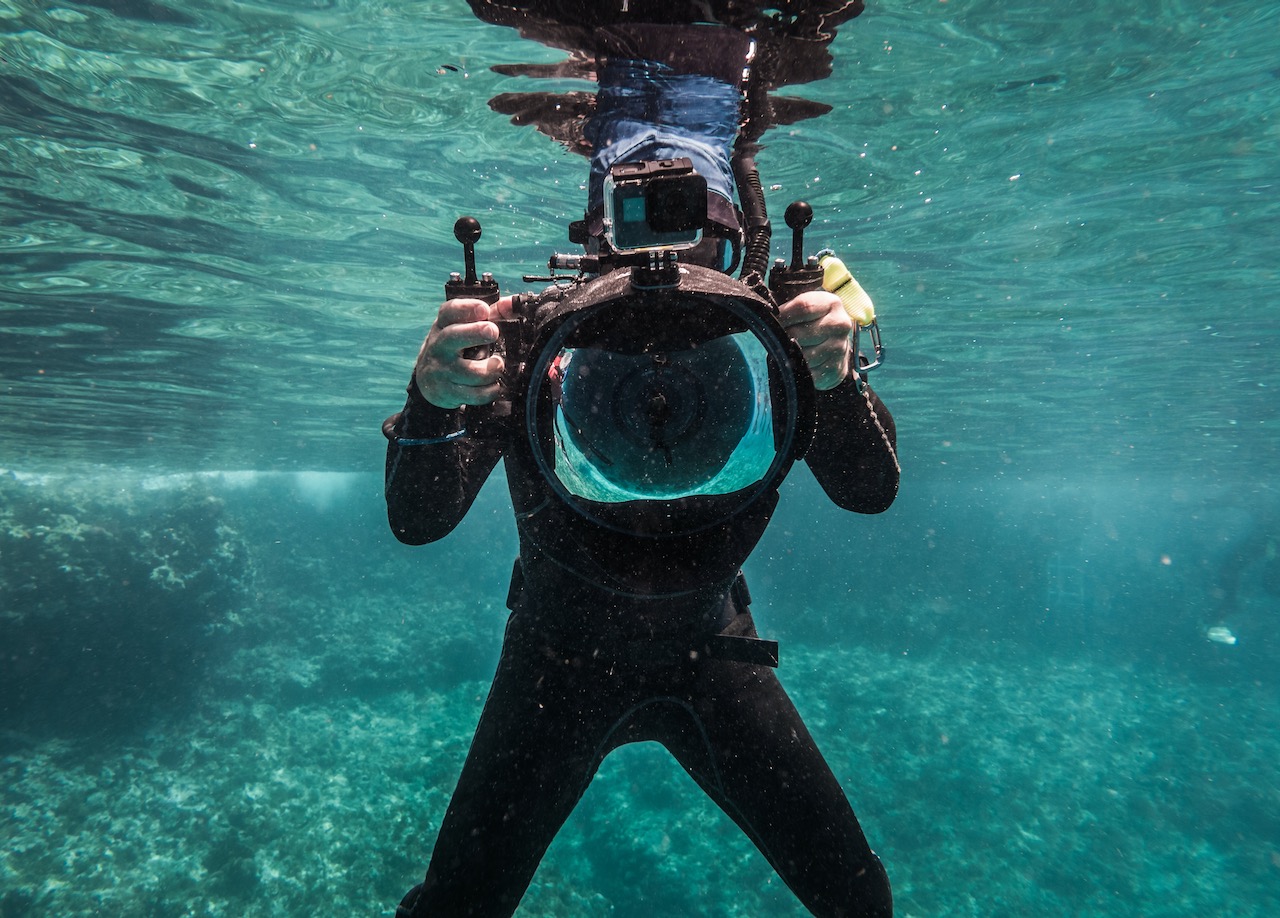
It may sound like a no-brainer, but more than one shot or camera has been ruined by rushing. Double-check that your battery is charged and that you have a fresh SD card. Ensure the housing is clean, with no hairs or fingerprints on the inside of the lens. Finally, and perhaps most importantly, check the seal for sand or obstructions when closing the camera inside.
We’ve missed our fair share of amazing moments due to forgotten SD cards or dead batteries, and we’ve even had a few friends flood their housings while rushing to get in the water.
One other tip here if you constantly find your housing gets fogged up, we also place some tissue paper or paper towels inside the housing, tucked away where they won’t interfere with the camera. This will absorb any humidity inside the housing, helping to prevent fogging.
Typically, we aim to film everything in at least 60fps (frames per second). Our eyes and brain perceive 24fps as the most pleasing and natural, so shooting at 60fps allows us to slow down the clips by up to 50%, helping to smooth the motion. It’s important to shoot at the highest quality possible, ensuring each frame contains the maximum amount of data. If you anticipate filming wildlife or fast movements, consider recording at an even higher frame rate to further slow down a fast encounter.
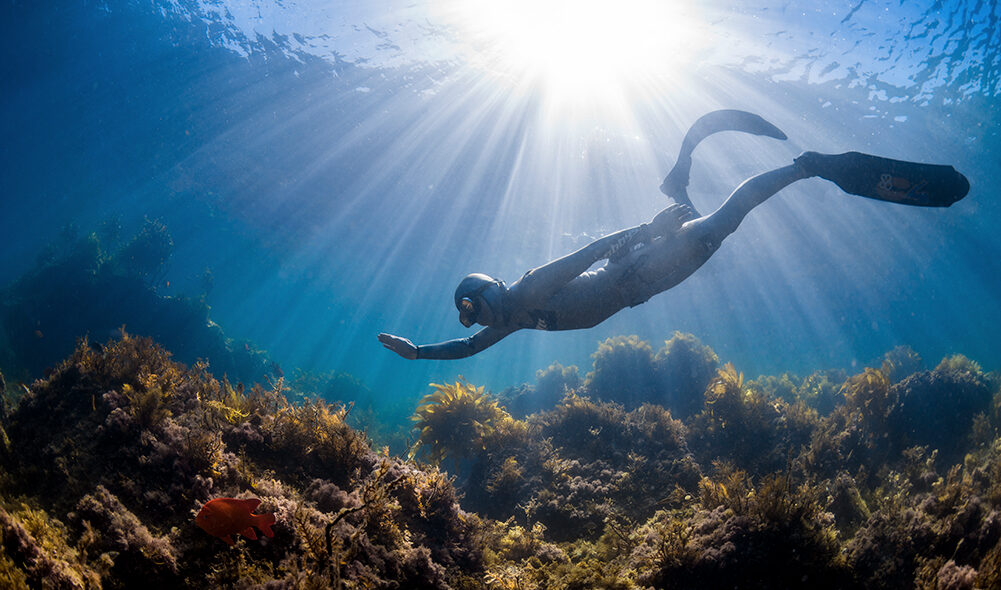
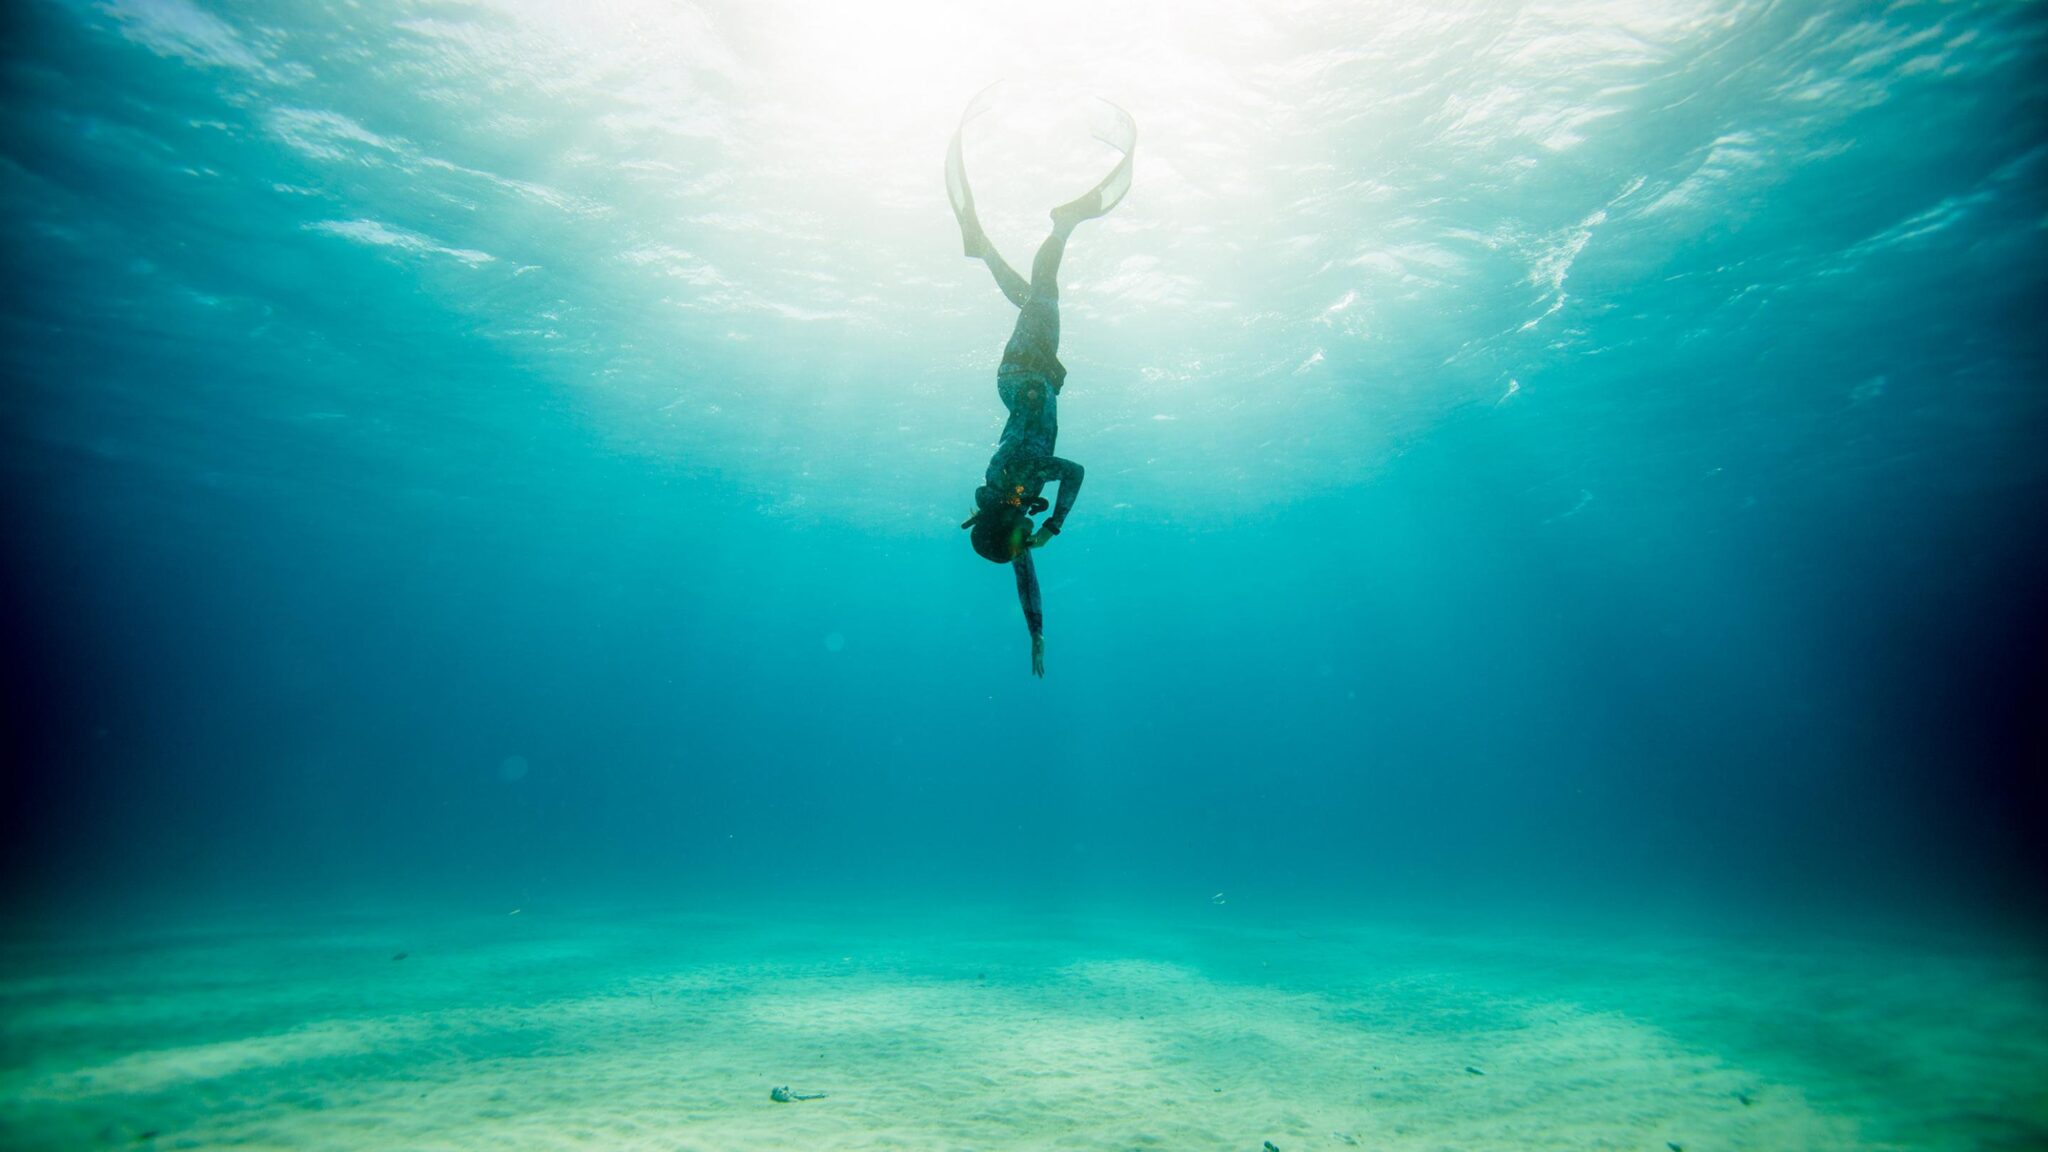
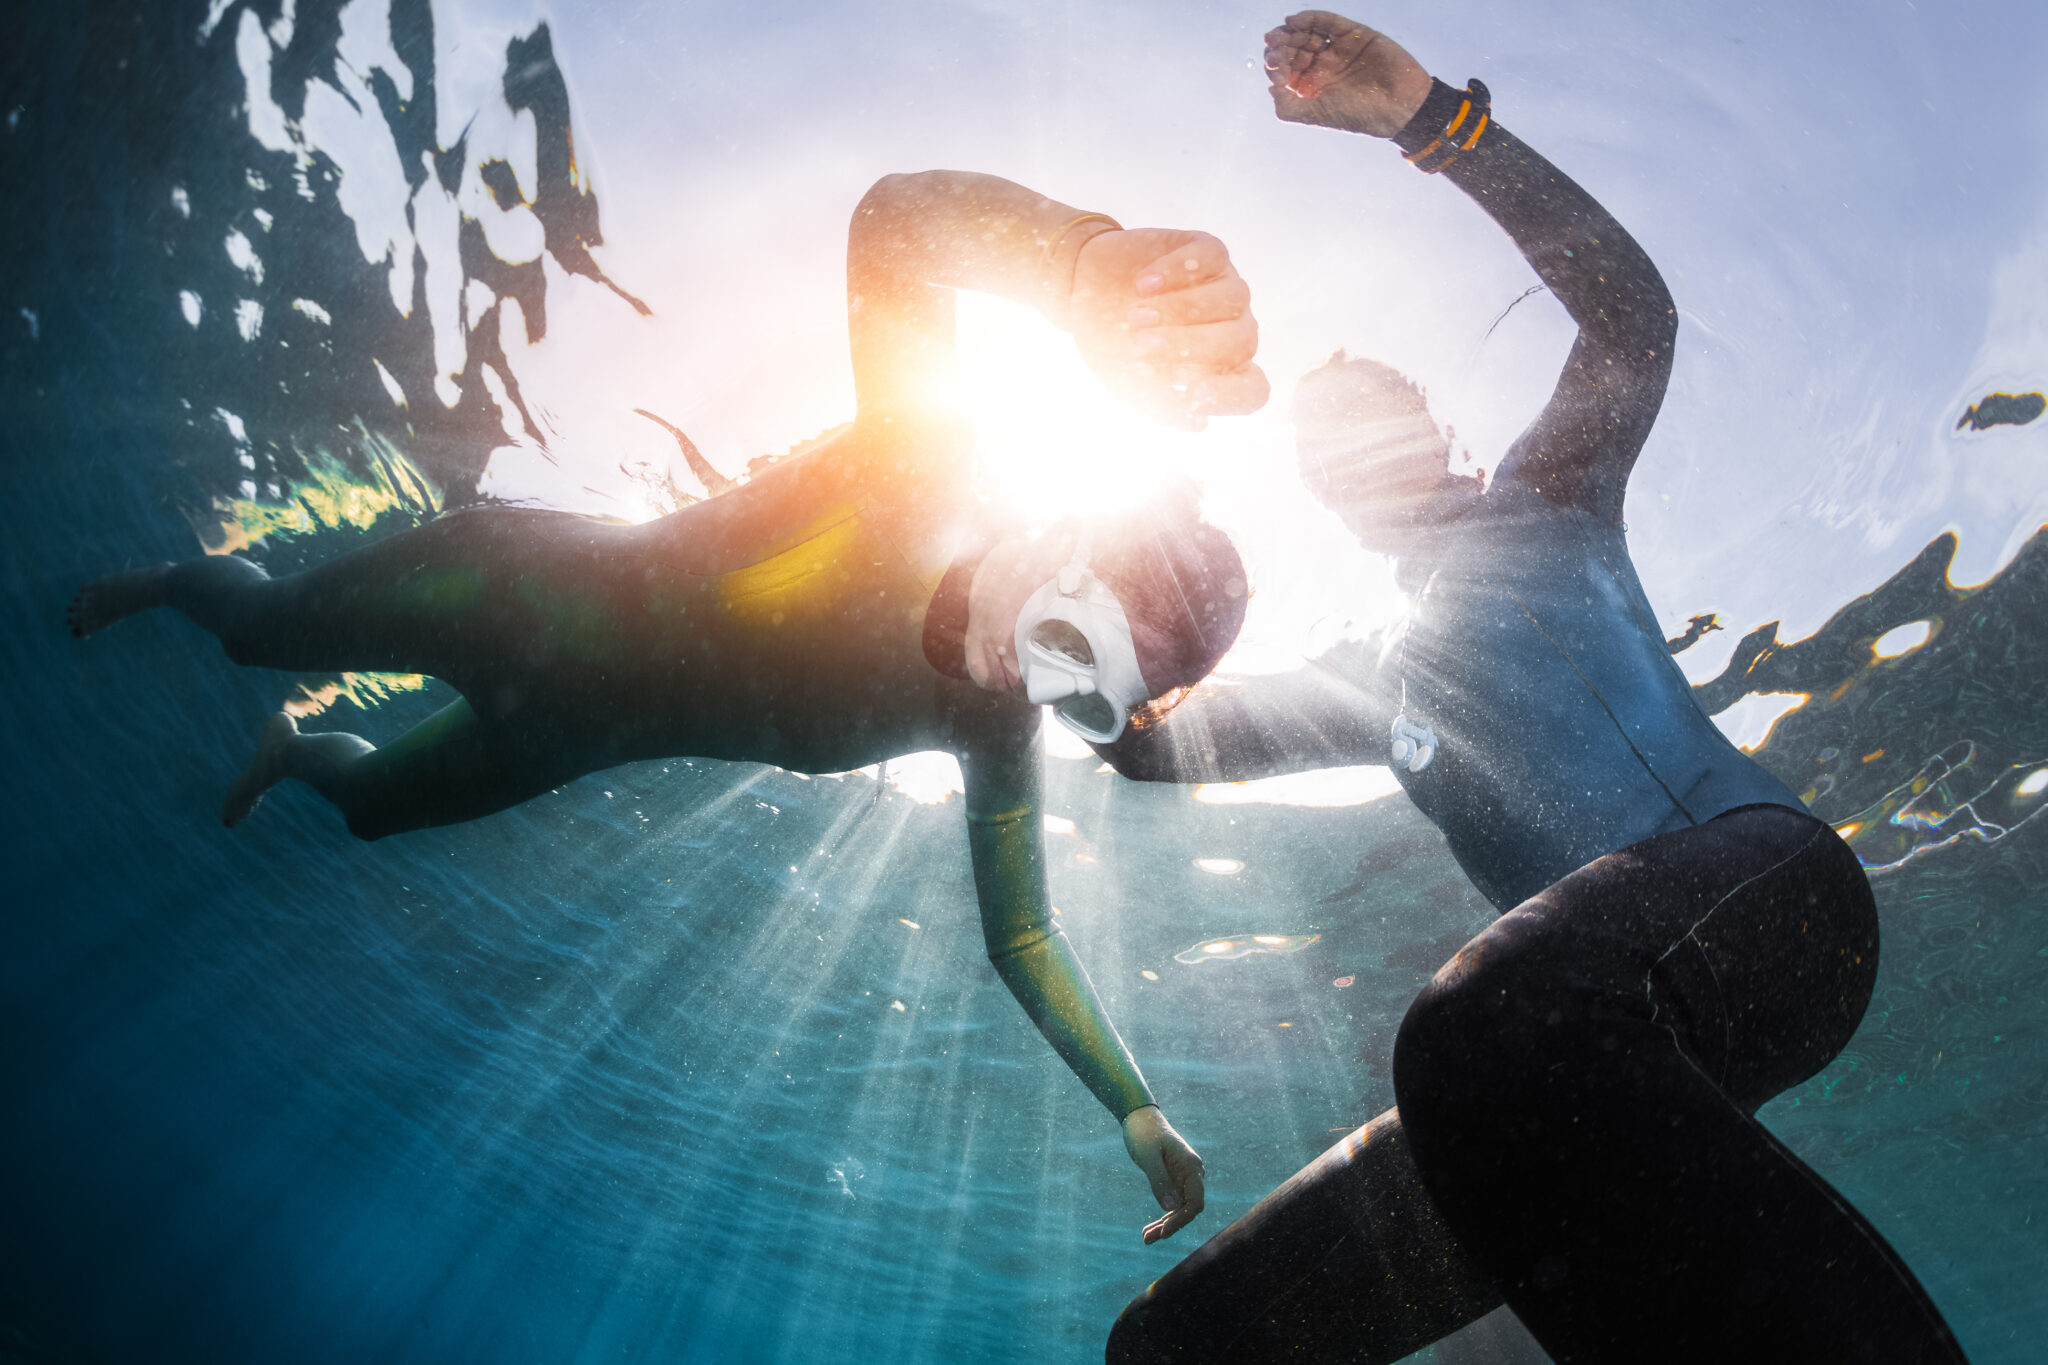
Light moving through water can be quite magical, but learning how to utilize the light and its refractions to your advantage can take time. A valuable tip for freediving videos is to descend 10 to 15 feet (3 to 5 meters) and slowly rotate, turning in a circle, while observing the LCD screen. This technique will help you determine the ideal shooting direction. Typically, in one direction, the sun will create beautiful light rays through the water, accentuating your subject. Conversely, facing another direction may result in a flat and dull appearance.
If you’re filming your friend while freediving, communicate with them about where to look during ascent. By instructing them to look upward and into the light, you can often capture reflections off their mask.
We aim to shoot for at least ten seconds per clip. This duration enables you to trim the clip as needed while also providing extra frames at the beginning and end, should you wish to add transitions in post-production later. Alternatively, allowing people and animals to swim into and pass through the frame can enhance both storytelling and editing flexibility.
If you’re trying to record your friends freediving on a line or reef, communicate with them about what looks good and how they can assist you in getting the shot. Most of us want to appear good on camera, so many are willing to move slower or look in a specific direction to help the person operating the camera. Effective communication at the surface will also help conserve breath and time both underwater and between dives.
The most crucial tip for freediving videography is safety. If you’re recording your friend diving on a line, it’s essential to have a third person present for safety. It’s easy to become distracted or overly focused on capturing the perfect shot, potentially putting oneself in danger. Having a third person ensures that someone is fresh and prepared to assist if needed. Additionally, the third person can manage dive gear or a dive float, keeping it nearby but out of the shot as a bonus.
Now that you have some great tips on how to capture better freediving videos, get out there and give it a shot! But don’t let all that amazing footage just sit there. Remember to share your best with the rest of us to enjoy. If you feel like upping your game even more, continue on with these other helpful posts.
Share This
